In 2026, building software has shifted from writing procedural code to coordinating intelligent systems. If you want to build an AI agent that can plan, execute tools, and self-correct, you need to understand the modern architectural blueprints that define autonomous applications.
In this AI agent tutorial, we will walk through the core components of modern AI agent architecture and detail a step-by-step path to deploy your first agentic system.
Understanding the AI Agent Architecture
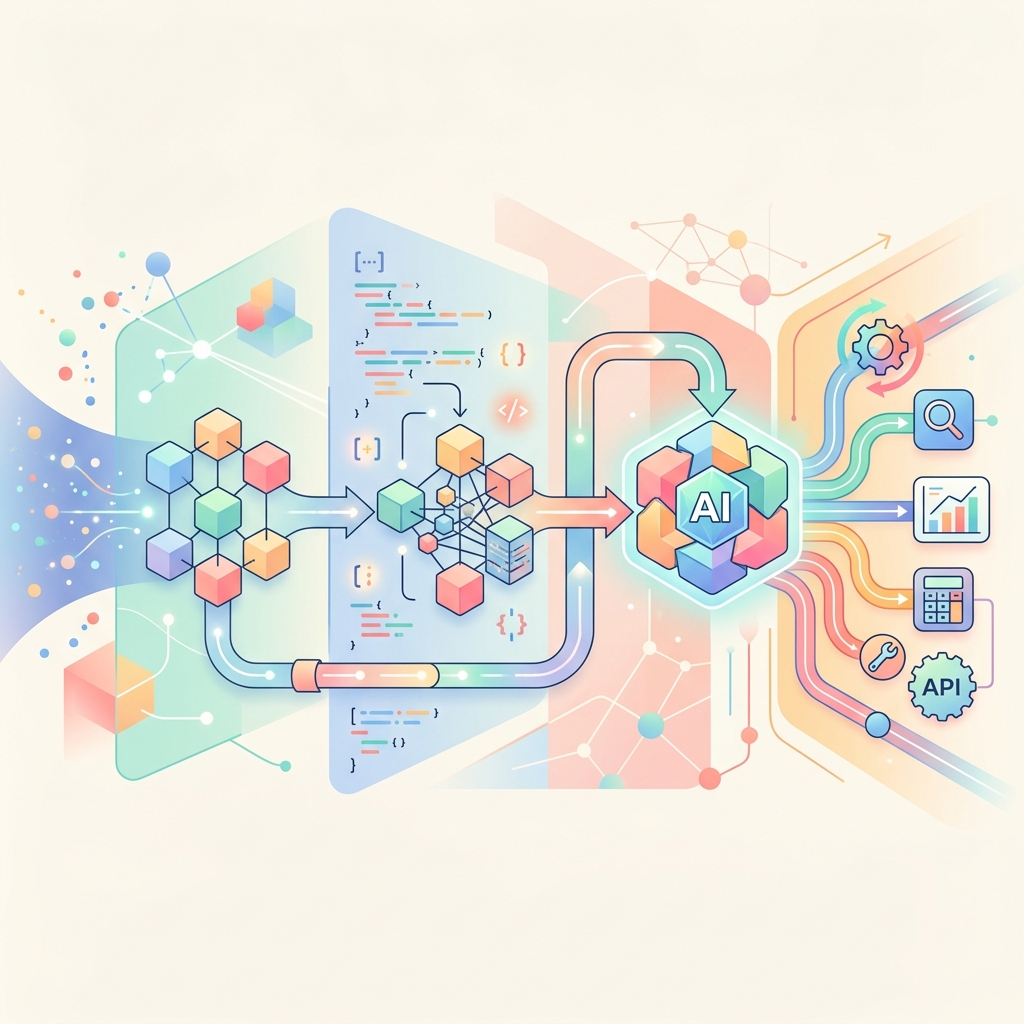
A basic LLM call is stateless. To turn it into an autonomous agent, we wrap it in a control loop that maintains memory, plans actions, and executes tools. At WavoLabs AI, we utilize a modular AI agent framework that breaks this down into four primary layers:
- The Core Brain (LLM/LMM): The underlying model that performs reasoning, intent classification, and text generation.
- Memory Layer: Short-term memory (conversation state and recent thoughts) combined with long-term memory (semantic history retrieved from vector databases).
- Planning & Reflection: The logic loop that breaks down complex tasks into sub-tasks and evaluates execution results.
- Tool & Action Execution: APIs, SDKs, and sandboxed runtimes that let the agent interact with the outside world.
"An agent is only as good as its toolset and its ability to self-correct. Building reliable agents requires strict guardrails and high-speed execution loops."
Step-by-Step: How to Build an AI Agent
Step 1: Set Up the Environment and Core Brain
Choose a reasoning model (such as Claude Sonnet 5 or GPT-5.6 Sol) as the central planning engine. Initialize your project and set up secure access to your model provider's API.
Step 2: Design the Memory Store
Implement state management to hold the agent's current task list, history of actions, and environment variables. Using a flexible document database like MongoDB allows you to change the state schema dynamically as your agent learns new tasks.
Step 3: Define and Register Tools
Create standard interfaces for the tools your agent can call. By adhering to the Model Context Protocol (MCP), you can write reusable tool servers that grant your agent secure, standard access to local directories, SQL/NoSQL databases, or web search APIs.
Step 4: Implement the Planning Loop (ReAct Pattern)
Write the control loop that orchestrates the agent's actions. The standard Reasoning and Acting (ReAct) pattern directs the model to output a thought, choose a tool, inspect the output, and repeat until the target goal is met.
Step 5: Apply Safeguards and Feedback Loops
Incorporate style and policy guardrails to keep the agent aligned with your Brand DNA. WavoLabs AI integrates real-time verification loops and Human-in-the-Loop (HITL) checkpoints to ensure high-impact actions are approved by human operators before execution.
Deploying at Scale
When moving from a local prototype to a production environment, scaling your execution layer is crucial. Frameworks must handle parallel tool runs, automatic retry logic, and memory pruning. By adopting clean design patterns and standard protocols, you can build reliable AI agents capable of carrying out complex, multi-tier workflows autonomously.